Shader examples: Difference between revisions
No edit summary |
No edit summary |
||
| Line 1: | Line 1: | ||
This page contains some example shader resources to try | This page contains some example shader resources to try. If you are looking to make your own, please be sure to read about the [[Shader|shader element]] as well. | ||
<br> | <br> | ||
__TOC__ | __TOC__ | ||
| Line 43: | Line 43: | ||
This resource controls a texture's UVs using Lua. It shows that anything is possible if you can imagine it. | This resource controls a texture's UVs using Lua. It shows that anything is possible if you can imagine it. | ||
</td></tr></table> | </td></tr></table> | ||
<!-- | |||
==Ped morph== | ==Ped morph== | ||
[[Image:PedMorphScreen.jpg|200px|thumb|left|Ped morph]] | [[Image:PedMorphScreen.jpg|200px|thumb|left|Ped morph]] | ||
| Line 69: | Line 69: | ||
</td></tr></table> | </td></tr></table> | ||
--> | |||
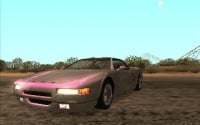
==Car paint== | ==Car paint== | ||
[[Image:CarPaintScreen.jpg|200px|thumb|left|Car paint]] | [[Image:CarPaintScreen.jpg|200px|thumb|left|Car paint]] | ||
| Line 143: | Line 143: | ||
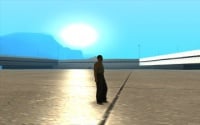
This resource applies a 'High Dynamic Range' contrast effect. It uses a 1 pixel render target to sample the whole scene, and then uses that to brighten or darken the next frame. | This resource applies a 'High Dynamic Range' contrast effect. It uses a 1 pixel render target to sample the whole scene, and then uses that to brighten or darken the next frame. | ||
So going into somewhere dark will automatically brighten the scene, and visa versa | So going into somewhere dark will automatically brighten the scene, and visa versa | ||
<br><br> | |||
</td></tr></table> | |||
==Tessellation== | |||
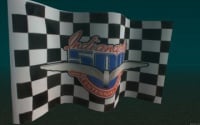
[[Image:shader_flag.jpg|200px|thumb|left|Tessellation action]] | |||
<table border=0><tr><td valign=top height=170> | |||
[http://nightly.mtasa.com/files/shaders/shader_flag.zip Download shader_flag.zip] ''Requires Shader Model 2 graphics card'' | |||
<br><br> | |||
This resource shows how to use shader tessellation to animate the shape of a dxDrawImage and use shader transform to give it a 3rd dimension. | |||
The example has a GUI (press numpad-8) so you can fiddle with the settings. | |||
<br><br> | <br><br> | ||
</td></tr></table> | </td></tr></table> | ||
Revision as of 05:46, 30 January 2012
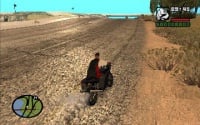
This page contains some example shader resources to try. If you are looking to make your own, please be sure to read about the shader element as well.
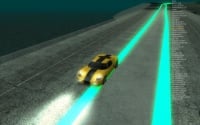
Road shine
|
Download shader_roadshine.zip Requires Shader Model 2 graphics card
int CUSTOMFLAGS
<
    string createNormals = "yes";
>;
Surface normals are not usually present in the ground and building models, but are useful for creating lighting effects such as these. |
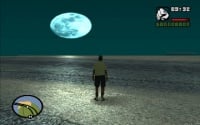
Road shine 2
|
Download shader_roadshine2.zip Requires Shader Model 2 graphics card
|
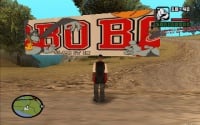
UV scroll
|
Download shader_uv_scroll.zip
|
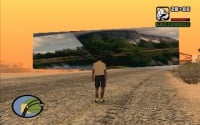
UV scripted
|
Download shader_uv_scripted.zip
|
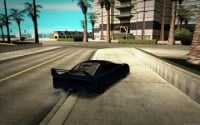
Car paint
|
Download shader_car_paint.zip Requires Shader Model 2 graphics card
|
Water
|
Download shader_water.zip Requires Shader Model 2 graphics card
|
Bloom
|
Download shader_bloom.zip Requires Shader Model 2 graphics card
|
Block world
|
Download shader_block_world.zip Requires Shader Model 2 graphics card
|
Texture names
|
Download shader_tex_names.zip
num_8 shows/hides the texture list, num_7 and num_9 step through the list, and 'k' copies the current texture name to the clipboard. |
Road shine 3 (Deluxe edition)
|
Download shader_roadshine3.zip Requires Shader Model 2 graphics card
The final effect is a faster shader with less rendering issues than the previous two road shine examples.
|
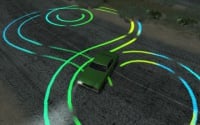
Skid marks
|
Download shader_skidmarks.zip Requires Shader Model 2 graphics card
|
HDR contrast
|
Download shader_contrast.zip Requires Shader Model 2 graphics card
|
Tessellation
|
Download shader_flag.zip Requires Shader Model 2 graphics card
The example has a GUI (press numpad-8) so you can fiddle with the settings.
|
