Roller Coaster Generator
Roller Coaster Generator resources for Multi Theft Auto: San Andreas
History and concept
History
Roller Coaster Generator's idea is old. I wanted to create a Going-Down like map, but it was very time consuming. That was the time, when i thinked first of a thing which can generate the whole track. Several algorithm were made, even algorithms like the loopgen uses. The algorithm Roller Coaster Generator uses now, first concieved at 2007 June-July. A console program created a .map file after i set up the track's properties like positions (had to find the coordinates manually), and i could try that ingame. A Roller Coaster Generator has been released at 2009 July. The new release started at 2010 may.
Concept
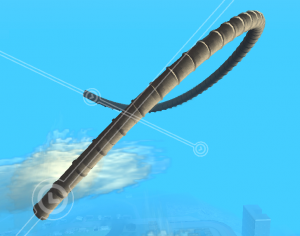
The Roller Coaster Generator helps to create and manage series of objects are produce usually a road or curve or loop or section together. The main idea is to use Control Points as points which mark track. Roller Coaster Generator contains an Element Definition Format for the editor, and also cooperates with the editor while it is running.
Setup
Requirements
- Multi Theft Auto 1.0.3
- Multi Theft Auto resources r596+ editor
Installation
- Download Roller Coaster Generator and unpack. (see Roller Coaster Generator Googlecode at External links)
- Copy/move the unpacked folders and files into ...\MTA San Andreas\server\mods\deathmatch\resources directory.
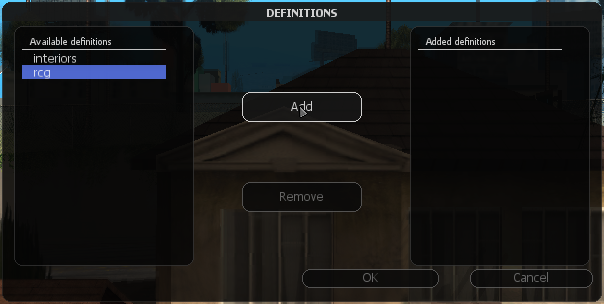
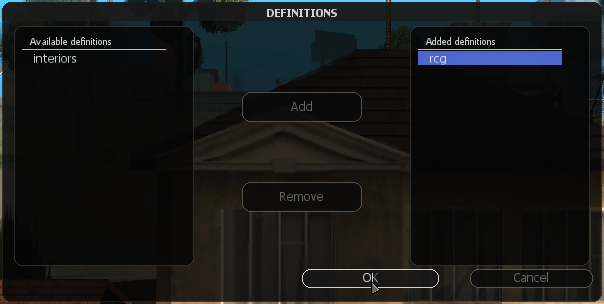
Set the definition
Usage
Basic usage
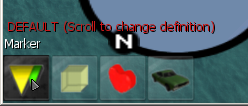
Definition
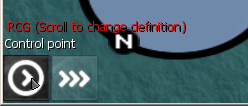
Control point
The control point defines the positions and directions of the track, and defines the rotations of the track elements. You can select 3 parts of the control point.
- Center
- With this selection it is possible to move, rotate, and change the model of the control point.
- Left, Right
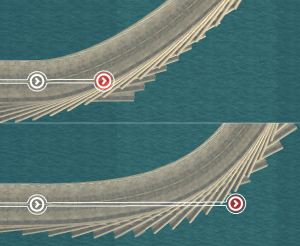
- With this selection it is possible to change the power as it can be seen on the image. (Use PageUp, PageDown keys.)
Track
The track connects two control points, and it creates the series of objects. A track element has 3 main properties:
- objectNumber
- With this property, you can change how many element does the track contain.
- controlPointLeft
- With this property, you can set where the track starts.
- controlPointRight
- With this property, you can set where the track ends.
Advanced usage
Model
There are more ways to edit the control point's or track element's model.
- If you set a control point's model, then it will change every track's model which are connected to that control point.
- If you modify a trac element's model, then it will change the track's every element's model. Note, it will not change the control points model.
Relative position, rotation
Use relative position and relative rotation if the element is not in the proper direction or it needs some extra edition.
Use the key X while selecting a control point, and then, translate or rotate it.
Use the key V while holding the key X to reset its relative position and relative rotation.
- Relative position
- It is not supported in the r6
- Relative rotation
- It helps you to rotate the element in the correct direction.
Used tools
- Notepad++
- Wolfram Mathematica
- Adobe Photoshop

