MTA 0.5 Installation
This is a step by step guide for the installation and use of MTA 0.5.
Download and Install
If you haven't done so already, download MultiTheftAuto 0.5 by clicking here and start the installer.
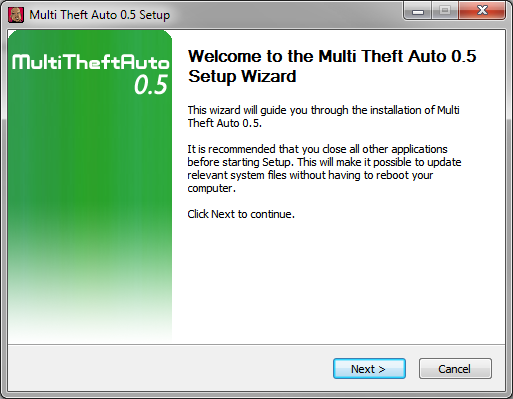
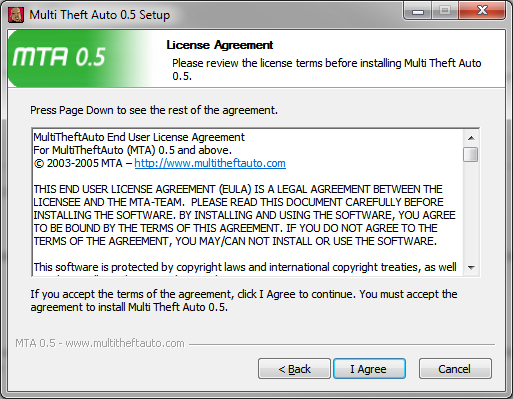
Hit the Next button, read the EULA and click "I Agree"
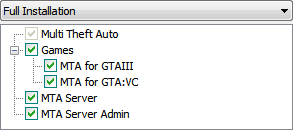
The next page shows the elements that can be installed. The client is required. Please select the game you want to install MTA for (GTA3 and/or Vice City) and if you want the server and server administration tool.
Click Next again. Point the installer to the correct directories of your GTA game(s). The installer is pointed towards the default installation locations of GTA.
Keep hitting Next and before you know it, MTA is installed and ready to run.
The first run
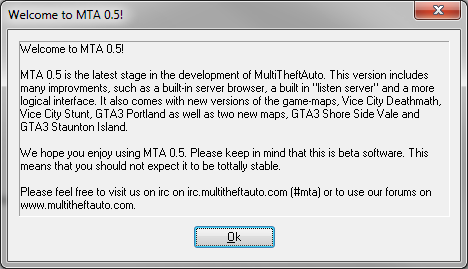
The first time you run MultiTheftAuto 0.5, you will be presented with a "Welcome" message like the one show below:
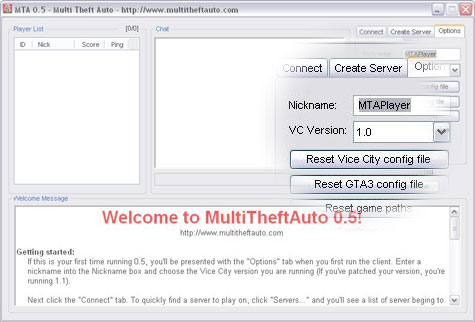
Read the message, then click "Ok". The next screen you'll see will be the main client window. This allows you to connect to the server and change all the relevant settings:
The first thing you should do is change the Nickname from "MTAPlayer" to a name of your choice. Remember, it is not a good idea to use your real name.
If you are going to play Vice City, you should also set the "VC Version" drop down box to the correct version you have installed. If you have patched your version of Vice City (you will have downloaded a patch from the Take Two Interactive website) then you are running version 1.1. If you are not sure, you should probably leave this as 1.0. If you experience problems connecting, try changing it to 1.1.
Joining a server
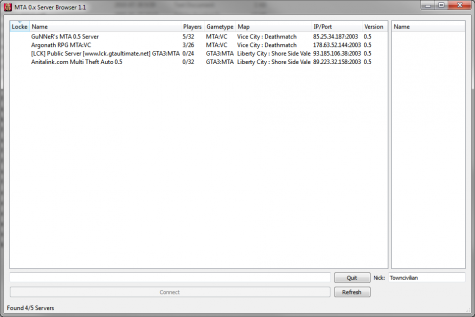
NOTE: Currently, there is no functioning built-in server browser due to the All Seeing Eye shutting down several years ago. There is an external server browsing application bundled with the latest repack of MTA 0.5's installer.
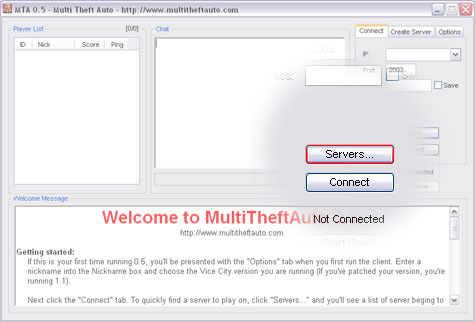
A new feature in MTA 0.5 is the integrated server browser. This means you can easily find a server to play on, straight from the client. To do this, click on the "Connect" tab at the top right hand corner of the client, and click the "Servers..." button.
You'll see a list of servers appear at the bottom of the MTA window. This will take a few seconds to update, and you'll be left with a window that looks like this:
If you've ever used another server browser, such as the All Seeing Eye, you'll find this works in a similar way, although it is quite basic in comparison.
When the server browser opens, you'll be presented with a list of servers. This list is initially sorted by "Ping". The lower the ping, the better, in general. You can click on the headings of the list, e.g. "Name" or "Players" to sort the list by them. This is useful if you want to find a server which isn't empty - just click "Players" once and you'll see the servers listed in order of their popularity.
Once you've found a server you want to join, just double click on it. If the server is passworded (a "1" will be in the 'PW' column), you'll have to enter a password then click "Connect".
Starting the game
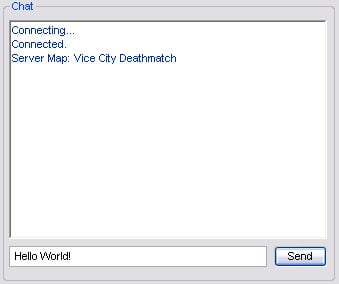
Now that you're connected, you can use the "Chat" area to talk to the other people on the server. Just enter a message in the box at the bottom, and click "Send" or hit Enter.
When you're ready to start playing, just click the "Start Game" button and the game will launch itself. The first time you do this, you may be asked where the game is installed. If you get any errors, ensure that you have chosen an installed version of the game (Vice City or GTA3) that has no mods installed.
If you want to change where your game is installed, go to the "Options" tab and click "Reset game paths".
In-game
Once you're in-game it should be quite self explanatory. You can chat using by pressing the "T" key and typing and you can show the score board using the F11 key. These keys can be changed in the config.cfg file in your game folder. If you have any problems, check the MTA 0.5 Known Issues, ask someone else when you're in a server, or post on our forums.
Have fun!
